One of the most important aspects of injection molding, or anything involving machining, is making sure machines are running at peak performance. Any downtime cuts into efficiency and, ultimately, the bottom line. Prolonged downtime can lead to serious problems with customers and nobody wants that.
Injection mold maintenance itself requires machine downtime, but when you plan for it, you’re able to maintain efficiency without the fear of unexpected and potentially disastrous downtime that may arise from failing to maintain your machines.
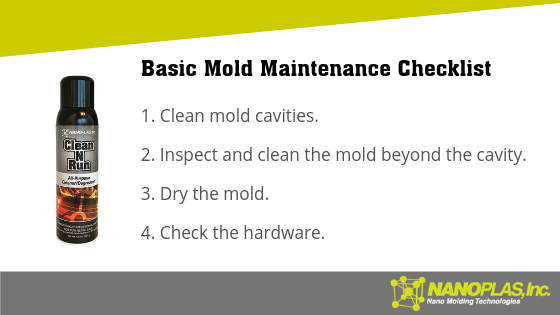
Basic Injection Mold Maintenance Checklist
Before and after every cycle, you should do a basic maintenance check on your mold. This ensures you’re keeping the mold free of potentially harmful debris, which means your parts will come out just as they’re supposed to.

1. Clean Mold Cavities.
First, use a solvent like Nanoplas Clean-N-Run to eliminate any residue that may be left behind in the mold. Spray it on, gently wipe the cavities and dry the mold. Start from the top of the mold and spray in a top to bottom motion as you move down the mold. If the mold needs further cleaning repeat the process or use a cloth to scrub hard to move contaminants. Once done cleaning dry the mold.
Next, hit the molds with compressed air. This helps dry the mold after using Clean-N-Run and also gets deeper into the mold to eradicate any additional debris you couldn’t otherwise reach.
2. Inspect and Clean the Mold Beyond the Cavity.
Debris and water are just as detrimental in the runners and sprues as they are in the cavity and you should never neglect these areas. Use Nanoplas Mold Brite or Clean-N-Run here as well, then follow it up with compressed air. Every part of the mold should be clear of debris before you run another cycle.
3. Dry the Mold.
Part of the compressed-air benefit is aiming toward completely drying the mold, but this is an important point, especially before storing the mold: the mold needs to be completely dry. If any water is left behind in a metal mold, you’re at risk for rust, which can cause a slew of problems. Rusty molds create more rejected pieces and are also prone to failing completely. Prevent these problems before they start by making absolutely sure your molds are dry.
4. Check the Hardware.
Make sure everything is in working order with your bolts, screws, plates and anything else fastening your mold. Nothing should be loose and there should be very little wear on these components.
Advanced Injection Mold Maintenance Checklist
Even with daily or twice daily mold machine maintenance as discussed above, the reality is certain parts will eventually wear out and need to be replaced. In addition to following the basic injection molding maintenance checklist before and after every cycle, you’ll want to do deeper inspections at longer intervals.
You should perform this maintenance at regular intervals determined by what type and how many cycles you’re running.
Check Ejection Components
All ejection components, including ejection pins, should be inspected. If you notice any damage, replace the parts. Also, make sure all the parts are appropriately lubricated. Do this every 10,000 cycles or so.
Additionally, Check All Non-Ejection Components
You don’t need to do this as frequently (maybe every five to 10 times you check the ejection components), but your inspections should never be limited to only ejection components. All parts related to the mold need to be checked for wear, damage and lubrication, including gaskets, valves and springs.
The Value of Preventive Injection Mold Maintenance
As discussed earlier, there is a cost associated with preventive maintenance: downtime of your machines and the manpower to perform the checks. However, this cost is virtually nonexistent when compared to the much higher cost of unexpected and potentially prolonged downtime, rejected parts and other hassles that hinder efficiency.
By getting in the habit of performing regular maintenance checks, you can keep your machines—and your business—running efficiently. Learn more about the different offerings that Nanoplas provides to keep your mold machinery maintained and in good shape here.
