by Admin | Jun 30, 2020 | Manufacturing, Plastics, Recent Posts |
Advantages of Mold Maintenance
Injection molders around the world are striving to make their operations more efficient, and more productive. One area that is often overlooked when it comes to gaining such advantages is mold maintenance.
A well-defined and consistent mold maintenance program helps improve efficiency by ensuring the molds are ready for production when needed. A Nanoplas cleaner, when used with a rust preventative, and a grease that does not break down not only cleans the mold, but also prepares it for the next run.
While applying the cleaner, rust preventative, and grease, take the time to thoroughly inspect the mold. Doing so will give you the chance to identify problems or wear on the mold before they become significant issues. As part of your maintenance log, make a note of any concerns, address the ones you can, and track the progression of any issues you can’t fix.
When it comes time to get the mold back into production, products used to clean and prepare the mold should not be a problem or cause a delay. The Nanoplas line of products are formulated to mitigate this issue. They do not cause bleeding or startup scrap, so you can mold right through them and save time getting the production run moving.
Integrating a maintenance program as a core element into your production strategy may allow you to realize significant gains in productivity by reducing startup issues and downtime, making your operation more efficient and profitable. To learn more about how the Nanoplas family of products can play a role in that strategy, contact us today.

by Admin | Feb 28, 2020 | Plastics |
Causes for Black Specks in Your Injection Molds

When you see black or brown specks on your molded part, you’re probably dealing with material that has been severely degraded. Sometimes called carbon buildup, black specks are sometimes mistaken as material contamination. While contamination can be a cause, you’ll need to look closer to know for sure.
What Causes Black Specks?
Most often, black specks are a sign the material has been degraded to a charred state, which usually means the material has been at temperature for too long. However, there are a number of things related to the process, mold, machine and material that can lead to black specs.
Black Specs Troubleshooting Chart
| Mold | Machine | Materials | Molding Process |
|---|
| Dust from wear surfaces | Hang-up areas, screw, barrel, etc. | Contamination | Improper machine shutdown |
| Hot runner temperatures | Barrel heater control | Wrong material | High melt temperature |
| Hot runner hang-up areas | | Regrind fines | Long residence time |
Found in Injection Molding Advanced Troubleshooting Guide: The 4M Approach (p. 132).
How to Prevent Black Specks in Injection Molding
The first thing you want to look at is the residence time. When a material spends too much time at temperature, it’s prone to black specks. It’s important to note, though, black specks come from a time-and-temperature problem. That is, we need to look at not only the residence time but also the heat history on the material.
Properly purging the machine at shutdown and ensuring the melt temperature isn’t too high (an issue that itself probably won’t cause black specks but can definitely contribute to the likelihood of a material to degrade) will help mitigate the risk of material degradation.
While residence time is the most frequent root cause of black specks, don’t overlook debris and dust from mold wear surfaces. Miter locks, wear plates and shutoff surfaces on molds can create metal dust and get into the mold cavity. If molded into the surface of a light-colored part, the dust will show up as black specks. Keeping the mold clean is crucial in preventing dust from creating issues with the part.
If you are unable to solve the issue right away, Zap-Ox is an excellent product for removing gas and surface stains like black specs. It is a cream cleanser that you apply to the area, let sit for a minute or two and then move around. It will bring the stain completely out of the substrate without any scrubbing.
by Admin | Nov 13, 2019 | Recent Posts |
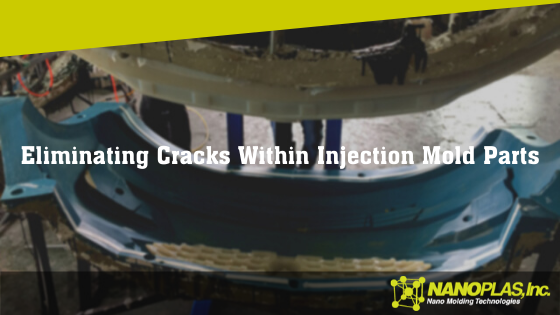
What Is Cracking in Injection Molding?
When a part is physically fractured or broken, you’re experiencing cracking. Cracks usually occur due to post-molding conditions, but when troubleshooting cracking, you want to know exactly when the cracking is happening as it will help you efficiently address potential issues and ultimately solve the problem.
Troubleshooting Cracks
In addition to post-molding conditions, cracking can be caused by a number of process settings, including second-stage pressure, melt temperature, residence time in barrel, ejection, part removal, operator error, mold breakaway and gate seal.
| Molding Process | Mold | Machine | Material |
| High second-stage pressure | Undercuts | Overheating | Moisture content |
| Melt temperature | Sharp corners | Lack of process control | Contamination |
| Residence time in barrel | Lack of draft | Regrind |
| Ejection | Lifter or slide corners |
| Part removal |
| Operator |
| Mold breakaway speed |
| Gate seal |
Table 24.1 Cracking Troubleshooting Chart, found in Injection Molding Advanced Troubleshooting Guide: The 4M Approach (p. 224)
How to Eliminate Cracking in Injection Molding
While cracks often occur post-mold, identifying the underlying issue is extremely important in being able to prevent cracking from happening. Check the part design—are there areas with sharp corners that act as stress risers and initiate cracks? If so, adding more radius to those areas can alleviate the stress and thus the cracks.
During the molding process, you could be facing high second-stage pressure, causing the material to stick which can lead to cracks when the mold opens or during ejection. A high melt temperature or improper residence time in the barrel could degrade the part and make it susceptible for cracking during ejection.
Since cracking usually occurs during ejection, it’s important to determine if the ejection itself is causing the issue or if it’s another issue that leaves the part vulnerable to ejection. Stop the mold process prior to ejection and look for cracks. If you see them, you know you have another issue. If there are no cracks, eject the part and check again. If you see cracks this time, you know there’s an ejection issue.
Nanoplas mold-release sprays are invaluable when it comes to ejecting parts and can be a tremendous help if you’re experiencing cracking.
If the part shows no cracks after ejection, it could be a part-removal issue or even an operator error. Something as simple as an operator handling the part could lead to cracking, which generally means there’s a design flaw that needs to be addressed. Simple handling of a part shouldn’t lead to cracking.
Cracking is a troublesome issue, but it can give you a lot of necessary information as to what needs to be improved to eradicate the problem.
Want to learn more? Check out these other great articles that solve common injection mold issues:
Source: Injection Molding Advanced Troubleshooting Guide: The 4M Approach by Randy Kerkstra and Steve Brammer.
by Admin | Nov 13, 2019 | Plastics |
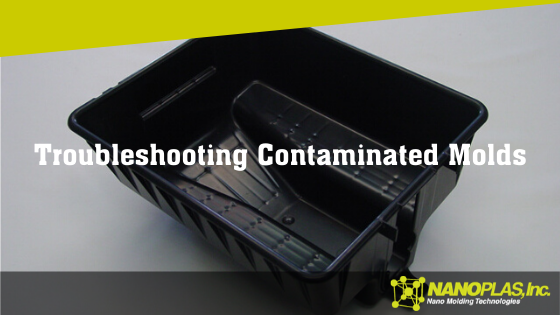
What Is Contamination in Injection Molding?
Contamination appears as discoloration, streaks, splay, delamination and other types of defects. Because it’s such a broad area with multiple possible culprits, is best to start with the usual suspect: the material brought to the molding machine.
Troubleshooting Contamination
Starting with the material, then working backward from there if necessary, you’re more likely to catch the root cause of the contamination earlier in the process, saving you time and energy and getting things back up and running as soon as you can.
| Molding Process | Mold | Machine | Material |
| Poor changeover | Hot runner hang-up | Hang-up areas | Improper storage |
| High melt temperature | High hot runner temperature | Anti-seize | Regrind |
| Wear Surfaces | Robot contamination | Incoming contamination |
| Lubricants | | Mixed Materials |
| Cleaning | | |
How to Eliminate Contamination in Injection Molding
Start with material storage. If your material is left in an open container, it’s nearly certain you’ll end up with a contaminant. Every molding shop has dust, dirt, cardboard, wood, metal, grease and other potential contaminants in abundance. If your materials aren’t stored properly, any one of those foreign substances can lead to contamination and a rejected part.
Another potential issue with the material is regrind. Make sure no one is grinding the wrong material with other materials (for example, just because one material is the same color as another doesn’t mean it’s the same material). Improper storage of regrind can be an issue if foreign substances can sully the material. The machine itself, if not properly cleaned, can add contaminants to the regrind.
Avoid mixing materials. Not only can putting the wrong materials together lead to contamination, but some—like PVC and acetal—are dangerous when mixed.
If you confirm everything is being done right with your materials, you can move into the process settings, mold and machine to see if any contaminants are being introduced there.
Want to learn more? Check out these other great articles that solve common injection mold issues:
Source: Injection Molding Advanced Troubleshooting Guide: The 4M Approach by Randy Kerkstra and Steve Brammer.
by Admin | Sep 30, 2019 | Plastics |
In all phases of the molding process—first stage, second stage and cooling—the cavities must be treated the same. If not, you run the risk of several different injection molding defects. We can prevent these issues in advance by ensuring six key factors are as they should be.
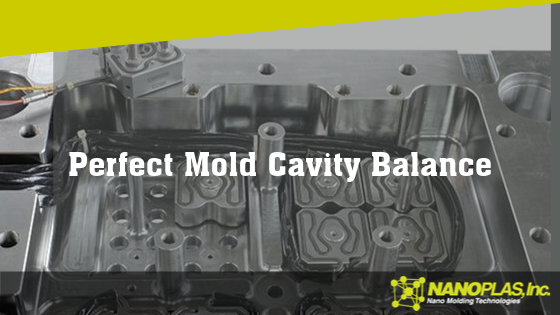
What is Cavity Balance?
The measure of how evenly a multicavity mold fills is called cavity balance. Multicavity molds aren’t as consistent as single-cavity molds, but since multicavity molds can usually produce parts at a lower cost, it’s essential to make sure the mold is designed for a balanced multicavity. If one cavity fills ahead or behind the others, the plastic in that cavity will process differently, resulting in a different part.
We should emphasize the importance of cavity balance throughout the entire process. During the fill, pack, hold, gate seal, shear and cooling phases, every cavity must be experiencing equal conditions.
Injection Molding Defects Caused by Poor Cavity Balance
If you don’t have proper cavity balance in your mold, you could end up facing:
- Short shots
- Flash
- Sink
- Burns
- Voids
- Dimensional issues
- Warp
- Sticking
- Gloss
This is a pretty big range of issues that can derail your production and potentially your cost savings of using multicavity molds.
Six Factors for Perfect Cavity Balance
In order to ensure cavity balance, the following conditions must be equal in all cavities:
- Flow length
From the material inlet to each cavity, the flow length should be designed to be the same for all cavities.
- Flow diameter
Similar to the importance of flow length, the flow diameter through the runners has to be equal for each cavity. Varying flow diameters can cause a whole new set of problems.
- Shear
Even with identical flow length and diameters, eight-cavity molds will still run with imbalance as the four inner cavities usually fill before the outer cavities. This can be combatted with John Beaumont’s MeltFlipper®, which solves the root cause of imbalance. You can also add a hot-runner system that lets you group four cavities at a time, although you could still find problems with shear imbalance, albeit not as sever.
- Cooling
Efficient cooling is required to ensure there are no differential mold temperatures. Start the inlet water at the center of the mold, look for a mold surface temperature variation of 10° F and the difference between water inlet and outlet temperature of any circuit should be a maximum of 4° F.
- Venting
Equal venting of all cavities lets them each experience the same conditions. If one cavity is poorly vented, it will probably burn or short.
- Clamp pressure
Without equal clamp pressure applied across a mold, you risk non-uniform venting.
Multicavity molds are great for production time and cost savings as long as you ensure these six key factors are consistent every single time.
Want to learn more? Check out these other great articles that solve common injection mold issues:
Source: Injection Molding Advanced Troubleshooting Guide: The 4M Approach by Randy Kerkstra and Steve Brammer.