by Admin | Jun 30, 2020 | Manufacturing, Plastics, Recent Posts |
Advantages of Mold Maintenance
Injection molders around the world are striving to make their operations more efficient, and more productive. One area that is often overlooked when it comes to gaining such advantages is mold maintenance.
A well-defined and consistent mold maintenance program helps improve efficiency by ensuring the molds are ready for production when needed. A Nanoplas cleaner, when used with a rust preventative, and a grease that does not break down not only cleans the mold, but also prepares it for the next run.
While applying the cleaner, rust preventative, and grease, take the time to thoroughly inspect the mold. Doing so will give you the chance to identify problems or wear on the mold before they become significant issues. As part of your maintenance log, make a note of any concerns, address the ones you can, and track the progression of any issues you can’t fix.
When it comes time to get the mold back into production, products used to clean and prepare the mold should not be a problem or cause a delay. The Nanoplas line of products are formulated to mitigate this issue. They do not cause bleeding or startup scrap, so you can mold right through them and save time getting the production run moving.
Integrating a maintenance program as a core element into your production strategy may allow you to realize significant gains in productivity by reducing startup issues and downtime, making your operation more efficient and profitable. To learn more about how the Nanoplas family of products can play a role in that strategy, contact us today.

by Nanomold Coating | Mar 16, 2020 | Manufacturing, Plastics |
Coronavirus: Will the Molding Industry Be Impacted?
Most likely, the answer is yes. Wuhan and other parts of China shut not only their manufacturing down, but entire cities. That effect has rippled, as COVID-19 has spread and continues to spread, growing to become the global health pandemic that it is today.
Exactly how the coronavirus will hit the molding industry is to be seen, but we can make some educated guesses based on what’s already happening. Here are our five predictions and expectations, plus advice on how to deal with a few of them.
Supply Chain Squeeze
Due to manufacturers in China and elsewhere closing or scaling back operations, supply chains are going to cut down to a trickle or temporarily dry up completely. While you and your customers might have a stockpile of raw material, it may not be enough to last until normal operations return. The good news is that normal operations are starting to resume, so supply chain issues are likely to be temporary.
Shipping Delays
Fact: China has seven of the world’s top 10 busiest ports. With all of the travel restrictions in China, a majority of port workers and laborers couldn’t get to their jobs. With little to no one to do the work, the shipping slowed to a halt, causing a hit to the industry. What does this mean for you? Don’t expect on-time deliveries, as supplies and components are likely to be bottlenecked and delayed. That being said, you likely won’t be the only one experiencing this pain point, so do your best to keep your patience and navigate the situation with grace.
Trade Shows Postponed or Canceled
Per medical experts, people should avoid large gatherings, as the coronavirus is most commonly spread through contact with an infected individual and symptoms can take up to 14 days to show up. Many trade shows are heeding this advice and either canceling or postponing their events. While these changes are an inconvenience at best, they are doing their part for the industry and their communities to help curb the spread of this infectious disease, and that’s something we should all appreciate.
Labor Issues
As more and more cases of coronavirus are diagnosed here in the U.S., it’s likely your employees will be impacted. Whether it’s school closures, like we’ve experienced here in Michigan (all K-12 schools are closed through April 5, 2020, per Governor Whitmer’s order), they have a sick family member, or suspect they’re symptomatic, you may experience a shortage of labor. Do your best to empathize, as this is also stressful for them. Be flexible with your sick and personal time off policies where you can. Also, check-in often, ask for open and honest input and feedback, and communicate frequently. This will make great strides in reassuring your workforce and boosting morale.
Economic Downturn
There’s already talk amongst the media that we’re tipping into a recession. While financial experts agree that a recession is a probability, if it does happen, they also say it’s unlikely to be as bad or as long lasting as the Great Recession that began in 2007. Generally, with recession comes increased pricing, decreased spending and other economic downturns, but it’s to be determined if and how long we’ll have to bear these hardships.
As you navigate the coronavirus and its impacts on your business, remember: we’re all in this together and we all have an important part to play. How you choose to play it is up to you, but we hope you take the high road, whatever that may be.
by Nanomold Coating | Mar 16, 2020 | Plastics |
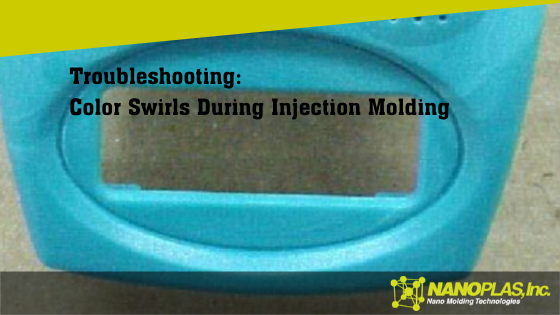
When color isn’t evenly distributed throughout a part, appearing as streaks, swirls or patches of discolored material, you’re probably looking at color swirls. Also known as streaking, color streaks and marbling, color swirls are occasionally misidentified as black and brown streaking, so it’s important to determine which defect you’re dealing with as the first step in your troubleshooting.
If misidentified, many of the solutions to color swirls will actually exacerbate the black and brown streaking, so accurately identifying the problem is a must.
What Causes Color Swirl Problems in Plastic?
When determining the cause—and thus solution—of color swirls, the first thing you need to know is when the problem is occurring. If you’re seeing color swirls after changing from one color to another, the solution won’t be the same as random or always-present swirls.
If the color swirls only appear after changing colors or materials, the culprit probably deals with your purging procedures. Changeovers have to be done correctly or you may be stuck with color swirls for hours.
Color Swirls Troubleshooting Chart
| Machine | Material | Molding Process |
|---|
| Screw design | Color concentrate | Low back pressure |
| Inadequate back pressure | Contamination | Fast screw speed |
| Hang-up in screw or barrel | Raw component issues | Low melt pressure |
Found in Injection Molding Advanced Troubleshooting Guide: The 4M Approach (p. 200).
How to Prevent Color Swirls in Injection Molding
Within the molding process, you need to pay extra attention to back pressure, screw speed and melt temperature. If the back pressure is too low, the material and color concentrate won’t mix properly, leading to color swirls.
Similarly, a fast screw speed can lead to color swirls. The longer the screw rotates, the better the color mix will be, but if screw recovery is too fast, you’ll likely find good results in slowing the speed.
You could be dealing with a melt temperature that’s too low and, since the melt temperature is impacted by so many other factors, it’s important to know exactly what your melt temperature is and that it’s within the recommended range for your material.
If the issue is with the machine, check out the screw design, back pressure and possible hang-up in the screw or barrel, which can prevent it from cleaning out well during color changes. A general-purpose screw design isn’t the best option for color and material mixing, so make sure you’re using a melt-quality screw. If you don’t have enough back pressure, you’ll likely find poor color mixing, which leads to color swirls.
Color swirls emanating from material issues can be due to an incompatible material-to-concentrate relationship, which could be as simple as using a concentrate that’s intended for a different material. You could also be dealing with contamination, which can cause a host of other problems, or a raw component issue.

by Admin | Feb 28, 2020 | Plastics |
Causes for Black Specks in Your Injection Molds

When you see black or brown specks on your molded part, you’re probably dealing with material that has been severely degraded. Sometimes called carbon buildup, black specks are sometimes mistaken as material contamination. While contamination can be a cause, you’ll need to look closer to know for sure.
What Causes Black Specks?
Most often, black specks are a sign the material has been degraded to a charred state, which usually means the material has been at temperature for too long. However, there are a number of things related to the process, mold, machine and material that can lead to black specs.
Black Specs Troubleshooting Chart
| Mold | Machine | Materials | Molding Process |
|---|
| Dust from wear surfaces | Hang-up areas, screw, barrel, etc. | Contamination | Improper machine shutdown |
| Hot runner temperatures | Barrel heater control | Wrong material | High melt temperature |
| Hot runner hang-up areas | | Regrind fines | Long residence time |
Found in Injection Molding Advanced Troubleshooting Guide: The 4M Approach (p. 132).
How to Prevent Black Specks in Injection Molding
The first thing you want to look at is the residence time. When a material spends too much time at temperature, it’s prone to black specks. It’s important to note, though, black specks come from a time-and-temperature problem. That is, we need to look at not only the residence time but also the heat history on the material.
Properly purging the machine at shutdown and ensuring the melt temperature isn’t too high (an issue that itself probably won’t cause black specks but can definitely contribute to the likelihood of a material to degrade) will help mitigate the risk of material degradation.
While residence time is the most frequent root cause of black specks, don’t overlook debris and dust from mold wear surfaces. Miter locks, wear plates and shutoff surfaces on molds can create metal dust and get into the mold cavity. If molded into the surface of a light-colored part, the dust will show up as black specks. Keeping the mold clean is crucial in preventing dust from creating issues with the part.
If you are unable to solve the issue right away, Zap-Ox is an excellent product for removing gas and surface stains like black specs. It is a cream cleanser that you apply to the area, let sit for a minute or two and then move around. It will bring the stain completely out of the substrate without any scrubbing.
by Nanomold Coating | Feb 20, 2020 | Plastics |
4 Causes of Burns in Injection Molding
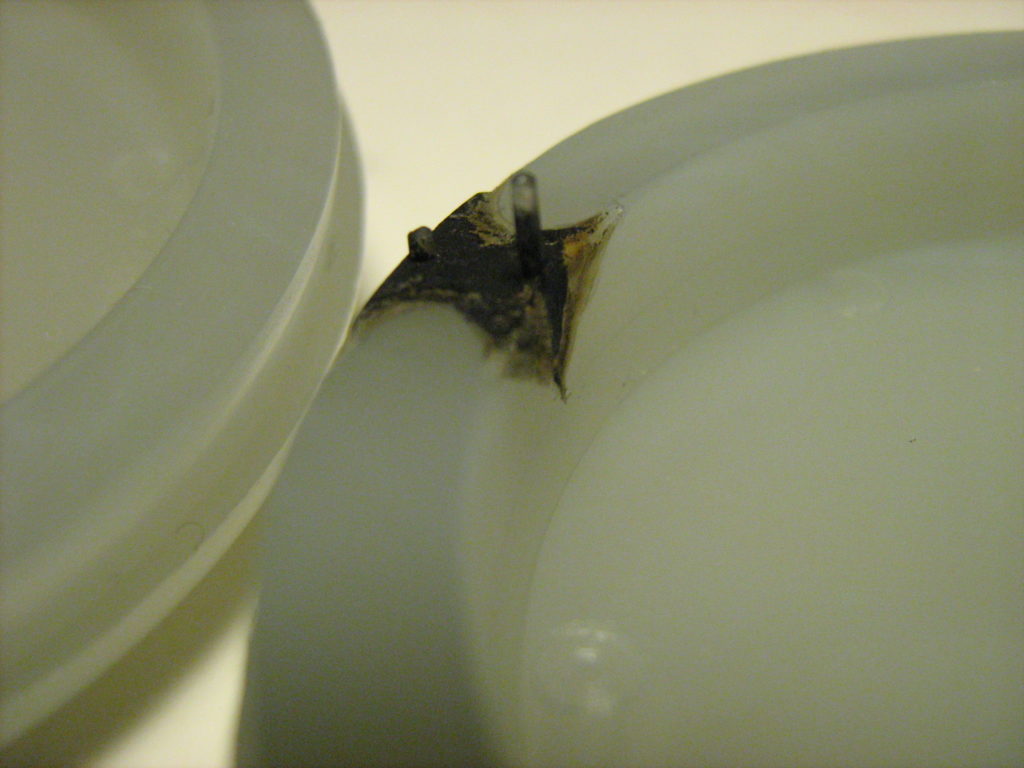
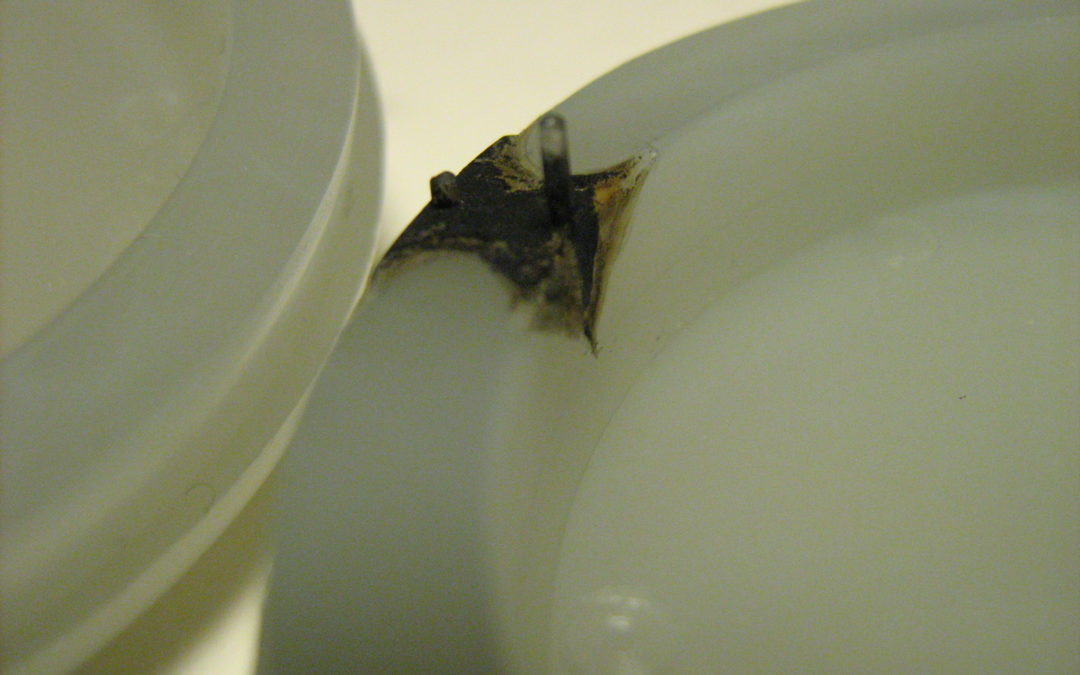
Sometimes known as dieseling or gas traps, burns in injection molding are literally that: burns. Often appearing as black, smutty deposits on the part and mold surface, these are spots at which the plastic has burned.
Not to be confused with color swirl or brown streaking, burns are actual burns to the part and/or mold and need to be treated as such.
What Causes Burns?
Although usually caused by a venting issue, the culprit can come from one of four areas: molding process, the mold itself, the machine or the material.
When gas gets trapped in the mold, high pressures can cause ignition, which leads to the burns. But why are gases getting trapped? This is what we need to diagnose and solve. If you can avoid it, don’t try to process around a burn issue. Look at tooling issues before you start altering the process.
Burns Troubleshooting Chart
| Mold | Machine | Materials | Molding Process |
|---|
| Venting | Buildup on screw, endcap, etc. | Moisture content | Too fast fill velocity |
| Grease, oil, or other contamination | Screw design | Type | High melt temperature |
| Barrel heater control problems | Additives | High back pressure |
| Damage to screw, barrel, tip, etc. | | Decompression |
Found in Injection Molding Advanced Troubleshooting Guide: The 4M Approach (p. 182). How to Prevent Burns in Molded Plastics
As we said earlier, improper venting is the most frequent cause of burns in injection molding. When troubleshooting the mold—which is where you should start—make sure there’s proper venting. Improving the venting of a mold will often solve the burn problem. Along with that, make sure the mold is clean. Even if the mold has proper venting, contaminants in the mold can hinder the venting from working properly.
The machine could have buildup on the screw, or the screw design itself could be a problem. There could be damage to the screw (or the barrel or tip or other parts) or you may have control problems with the barrel heater. Any of these things can cause dieseling on your parts.
Next, take a look at the materials. Higher moisture content leads to a greater chance of creating gas as the water gets hot and turns into steam. Some materials, like PVC and acetate, simply burn easier than others, so keep that in mind as you process.
After going through all possible tooling issues, you can get into the process. Again, trying to process around a burn issue isn’t ideal—adjusting fill velocity, melt temperature, back pressure and decompression is fine if you’re confident in your machine and materials (particularly the venting), but trying to change the process before checking out tooling issues will only make things less efficient and, probably, more expensive.
As mentioned earlier, contaminants in the mold can hinder venting. To remove contaminants, try the Nanoplas line of cleaners. Formulated with superior cleaning agents, they get grime and dirt out of the pores of the substrate, cleaning down to the virgin metal.
If there is harder to remove residue, like gas stains, you can use Zap-Ox cream cleanser, which eliminates the toughest gas stains without etching the surface. Simply apply Zap-Ox and move it around until all the residue is gone – no scrubbing required.
by Admin | Nov 13, 2019 | Plastics |
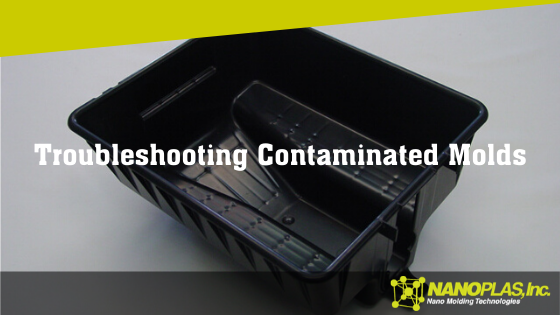
What Is Contamination in Injection Molding?
Contamination appears as discoloration, streaks, splay, delamination and other types of defects. Because it’s such a broad area with multiple possible culprits, is best to start with the usual suspect: the material brought to the molding machine.
Troubleshooting Contamination
Starting with the material, then working backward from there if necessary, you’re more likely to catch the root cause of the contamination earlier in the process, saving you time and energy and getting things back up and running as soon as you can.
| Molding Process | Mold | Machine | Material |
| Poor changeover | Hot runner hang-up | Hang-up areas | Improper storage |
| High melt temperature | High hot runner temperature | Anti-seize | Regrind |
| Wear Surfaces | Robot contamination | Incoming contamination |
| Lubricants | | Mixed Materials |
| Cleaning | | |
How to Eliminate Contamination in Injection Molding
Start with material storage. If your material is left in an open container, it’s nearly certain you’ll end up with a contaminant. Every molding shop has dust, dirt, cardboard, wood, metal, grease and other potential contaminants in abundance. If your materials aren’t stored properly, any one of those foreign substances can lead to contamination and a rejected part.
Another potential issue with the material is regrind. Make sure no one is grinding the wrong material with other materials (for example, just because one material is the same color as another doesn’t mean it’s the same material). Improper storage of regrind can be an issue if foreign substances can sully the material. The machine itself, if not properly cleaned, can add contaminants to the regrind.
Avoid mixing materials. Not only can putting the wrong materials together lead to contamination, but some—like PVC and acetal—are dangerous when mixed.
If you confirm everything is being done right with your materials, you can move into the process settings, mold and machine to see if any contaminants are being introduced there.
Want to learn more? Check out these other great articles that solve common injection mold issues:
Source: Injection Molding Advanced Troubleshooting Guide: The 4M Approach by Randy Kerkstra and Steve Brammer.