How to Properly Apply Injection Mold Coating
There are three types of injection mold release coatings within our Nano Mold Coating family and two ways to apply them, depending on the type of coating you’re using. Our HC and HCF (the food-grade alternative to HC) coatings are applied in the tool room at room temperature and all QC coatings (QC, QCRU and QCSI) are applied in the press in a hot mold.
These coatings have been scientifically formulated with the use of nanotechnology to create a semi-permanent barrier on the surface of molds which facilitates extraordinary plastic or rubber part release. The cured injection mold coating is a non-toxic, and colorless hardened polymer film that is only 100-200 nanometers in thickness so it has no affect on finished part dimensions.
Learn more about the science behind NanoMoldCoating®.
Cleaning the Substrate
Before we can talk about the actual injection mold coating application, we need to talk about cleaning the substrate, which is the most critical part of the application process. Regardless of what type of coating you’re using, the cleaning process is the same.
First, pre-clean the surfaces with Nanoplas Mold Brite or Power Clean. Remove all debris, oil, lubricants and rust preventatives from the entire mold, including the pores and crevices.
Use the white microfiber cloth included with the kit until you’ve removed all oil and debris. The white cloth makes it easier to see when you’ve gotten everything. Don’t use shop rags as they are often contaminated with lubricants or detergents and we’re trying to get rid of that—not add it.
Next, wet a clean, white cloth with ethanol, alcohol, acetone or MEK solvent to get rid of any remaining degreaser or oils. Before you begin the application process, make sure the surface is completely dry.
Injection Mold Coating Application – HC and HCF
The application method for HC (Heat Cure) and HCF (food-grade Heat Cure) injection mold coatings is the same, done at room temperature in the tool room. You can use a microfiber swab or cloth, depending on the actual mold configuration.
Apply a small amount of coating to the swab or cloth and apply to the surface in one direction. When this is done correctly, the surface should look wet as if you rubbed an alcohol wipe over the surface. If the swab or cloth dries out, reapply coating.
After you apply the coating in one direction, apply a second coating in a perpendicular direction over the same area. The reason for the second coat and change in direction is to make sure the entire surface is coated well, as the coating can be hard to see during application. Make sure there are no streaks or pooling, as that can lead to a sticky residue once cured.
Next, with a standard heat gun, begin the curing process. Set the gun to 550-600 degrees Fahrenheit. With the gun 4-6 inches from the surface, apply heat in a slow, sweeping motion, back and forth, for at least 10 minutes over the entire coated area.
The HC and HCF coatings each have a UV dye that will show up under a black light, allowing you to confirm the entire area has been coated.
You can apply a second coating for a longer coating life if you’d like. One satisfied with your coating, cover the mold with a clean cloth to keep dust from settling into the coating. Let it rest for at least three hours to allow the coating to completely harden.
These coatings
Injection Mold Coating Application – QC, QCRU, QCSI
With any of our Quick Cure family of coatings (Quick Cure, Quick Cure Rubber and Quick Cure Silicone), you’ll apply the coating in the press using the heat control of a thermolator.
After cleaning the mold thoroughly as described above, heat the mold to 120 degrees Fahrenheit. Shake the QC bottle well before using and during any reapplications.
Apply a mist to the surface of the mold or the microfiber cloth included in the kit. Wipe lightly, in one direction, making sure you create a thin, even layer. Remove any excess pooling or streaks immediately. After you’ve covered the entire area, apply the coating again, this time wiping in a perpendicular direction to make sure the area is properly coated.
Once you’ve applied the coating, heat the mold to 240 degrees Fahrenheit and allow it to cure for 15 minutes before production. If your press can’t get to 240 degrees, increase the length of time of the cure proportionally to the reduction in temperature. Once the mold is cured, it’s ready for use.
General Mold Maintenance
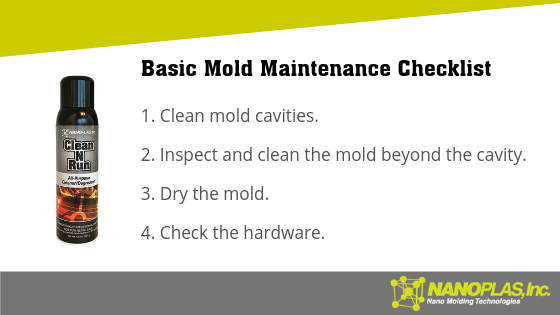
When you need to clean your coated molds, we recommend Nano Mold Cleaner, which was designed not to remove the coating. Other injection mold cleaners can gradually remove the coating and reduce mold performance over time.
For a demonstration on how to apply our coatings, watch our video on how to apply injection mold coating.
Be sure to check out our recent post on Basic to Advanced Mold Maintenance!